After doing miniatures, model kits, and various other paint jobs I've concluded that the RC bodies are the most demanding, but the right tools will yield a superb and durable finish. I'll make this brief and cut straight to the chase.

Tamiya acrylics tend to get rubbed and beat off of the Z bodies quite easily and will require frequent touch-ups, but are fairly easy to work with. Testors enamels surpass the oversea brother, but can end up too thick when sprayed on if the painter is a little careless or trigger happy. Both of these can be removed with simple acrylic or enamel thinners and some rubbing. Now, Testors Pactra Polycarbonate Coating sprays on in thin layers, yields very even and consistent finish, can withstand quite a beating and cannot be removed with some simple thinner. Furthermore, the ideal finish can be achieved with only 1 to 1.5 coats and up to 3 coats of paint will retain all of the details beneath them. If you mess up you have room for a primer and a recolor coat without endangering the finish.

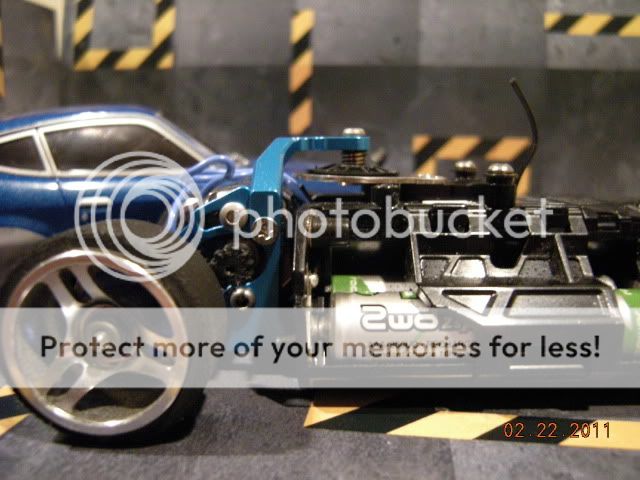
Pactra Candy Purple and Testors Gold Enamel details
Whats the next step to completing your masterpiece? The details and trims. The weapons of choice now are:
Testors Enamel Paint Markers with user-trimmed tips prior to use that will ensure precision and control;

Micron archival ink pens because not only do they come in 0.2mm tip variety, but can withstand a glosscoat laquer easily unlike their competitors.

I've tested(from bottom to top) Micron, Sharpie, and Gundam Marker on top of white Pactra layer and topped with Testors Glosscoat with the following result-

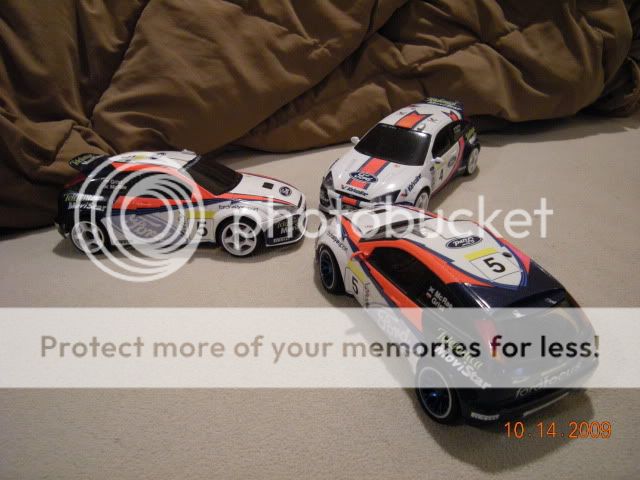
So there you have it folks, for a clean, durable and professional RC body finish your friends are Pactra spray cans, Micron markers, and Testors enamel paint markers. Happy painting!